


Each of us appreciates both - our free time and the opportunity to drink good (preferably home-brewed) beer. Unfortunately, it often happens that due to a lack of the former, we don't find tasty home-made beer in our pantry and have to buy it in a store. Fortunately, producers of raw materials and brewers have found a way for us to enjoy the taste of our own beer by skipping one of the longest and most demanding stages of its production, i.e. wort preparation, that is malt mashing and hopping. How? Brewkits, commonly referred to as "instant beer", have been available on the market for several years. What are brewkits and how to prepare beer from them?
What is a brewkit?
 For the uninitiated, brewkits may seem to be an untrustworthy product which may make beer, but it will certainly taste and aroma worse and will certainly be full of chemicals that we all try to avoid. Nothing could be further from the truth!
Brewkit is, simply put, hopped beer wort boiled down to a thick syrup. Wort, in turn, is a sweet liquid which is the result of mashing malts and subsequent hopping. Formally, wort becomes beer only when yeast is added to it.
Interestingly, you can make a brewkit syrup at home as long as you remove the hops from the wort after an hour or so of hot hopping. However, we advise against this. Firstly, it is time-consuming; secondly, the process requires constant attention, as it is easy to burn the wort; thirdly, you will not get the full effect, as brewers use special boilers for this purpose, where they boil under high pressure. However, this shows that brewkit is a completely natural product.
Also, when it comes to chemistry - you will not see it in good quality brewkits. The main component of brewkit is simple sugars, which serve as food for the yeast, and as you know, sugar itself is a preservative, so the use of other "boosters" is unnecessary, and would entail additional costs.
You also shouldn't have any concerns when it comes to the taste of the brewkit. The recipes are prepared by professional brewers with years of experience, and the proportions are chosen in such a way that the beer can compete with a brew prepared by a brewer from the proverbial "A to Z".
Advantages of brewkit
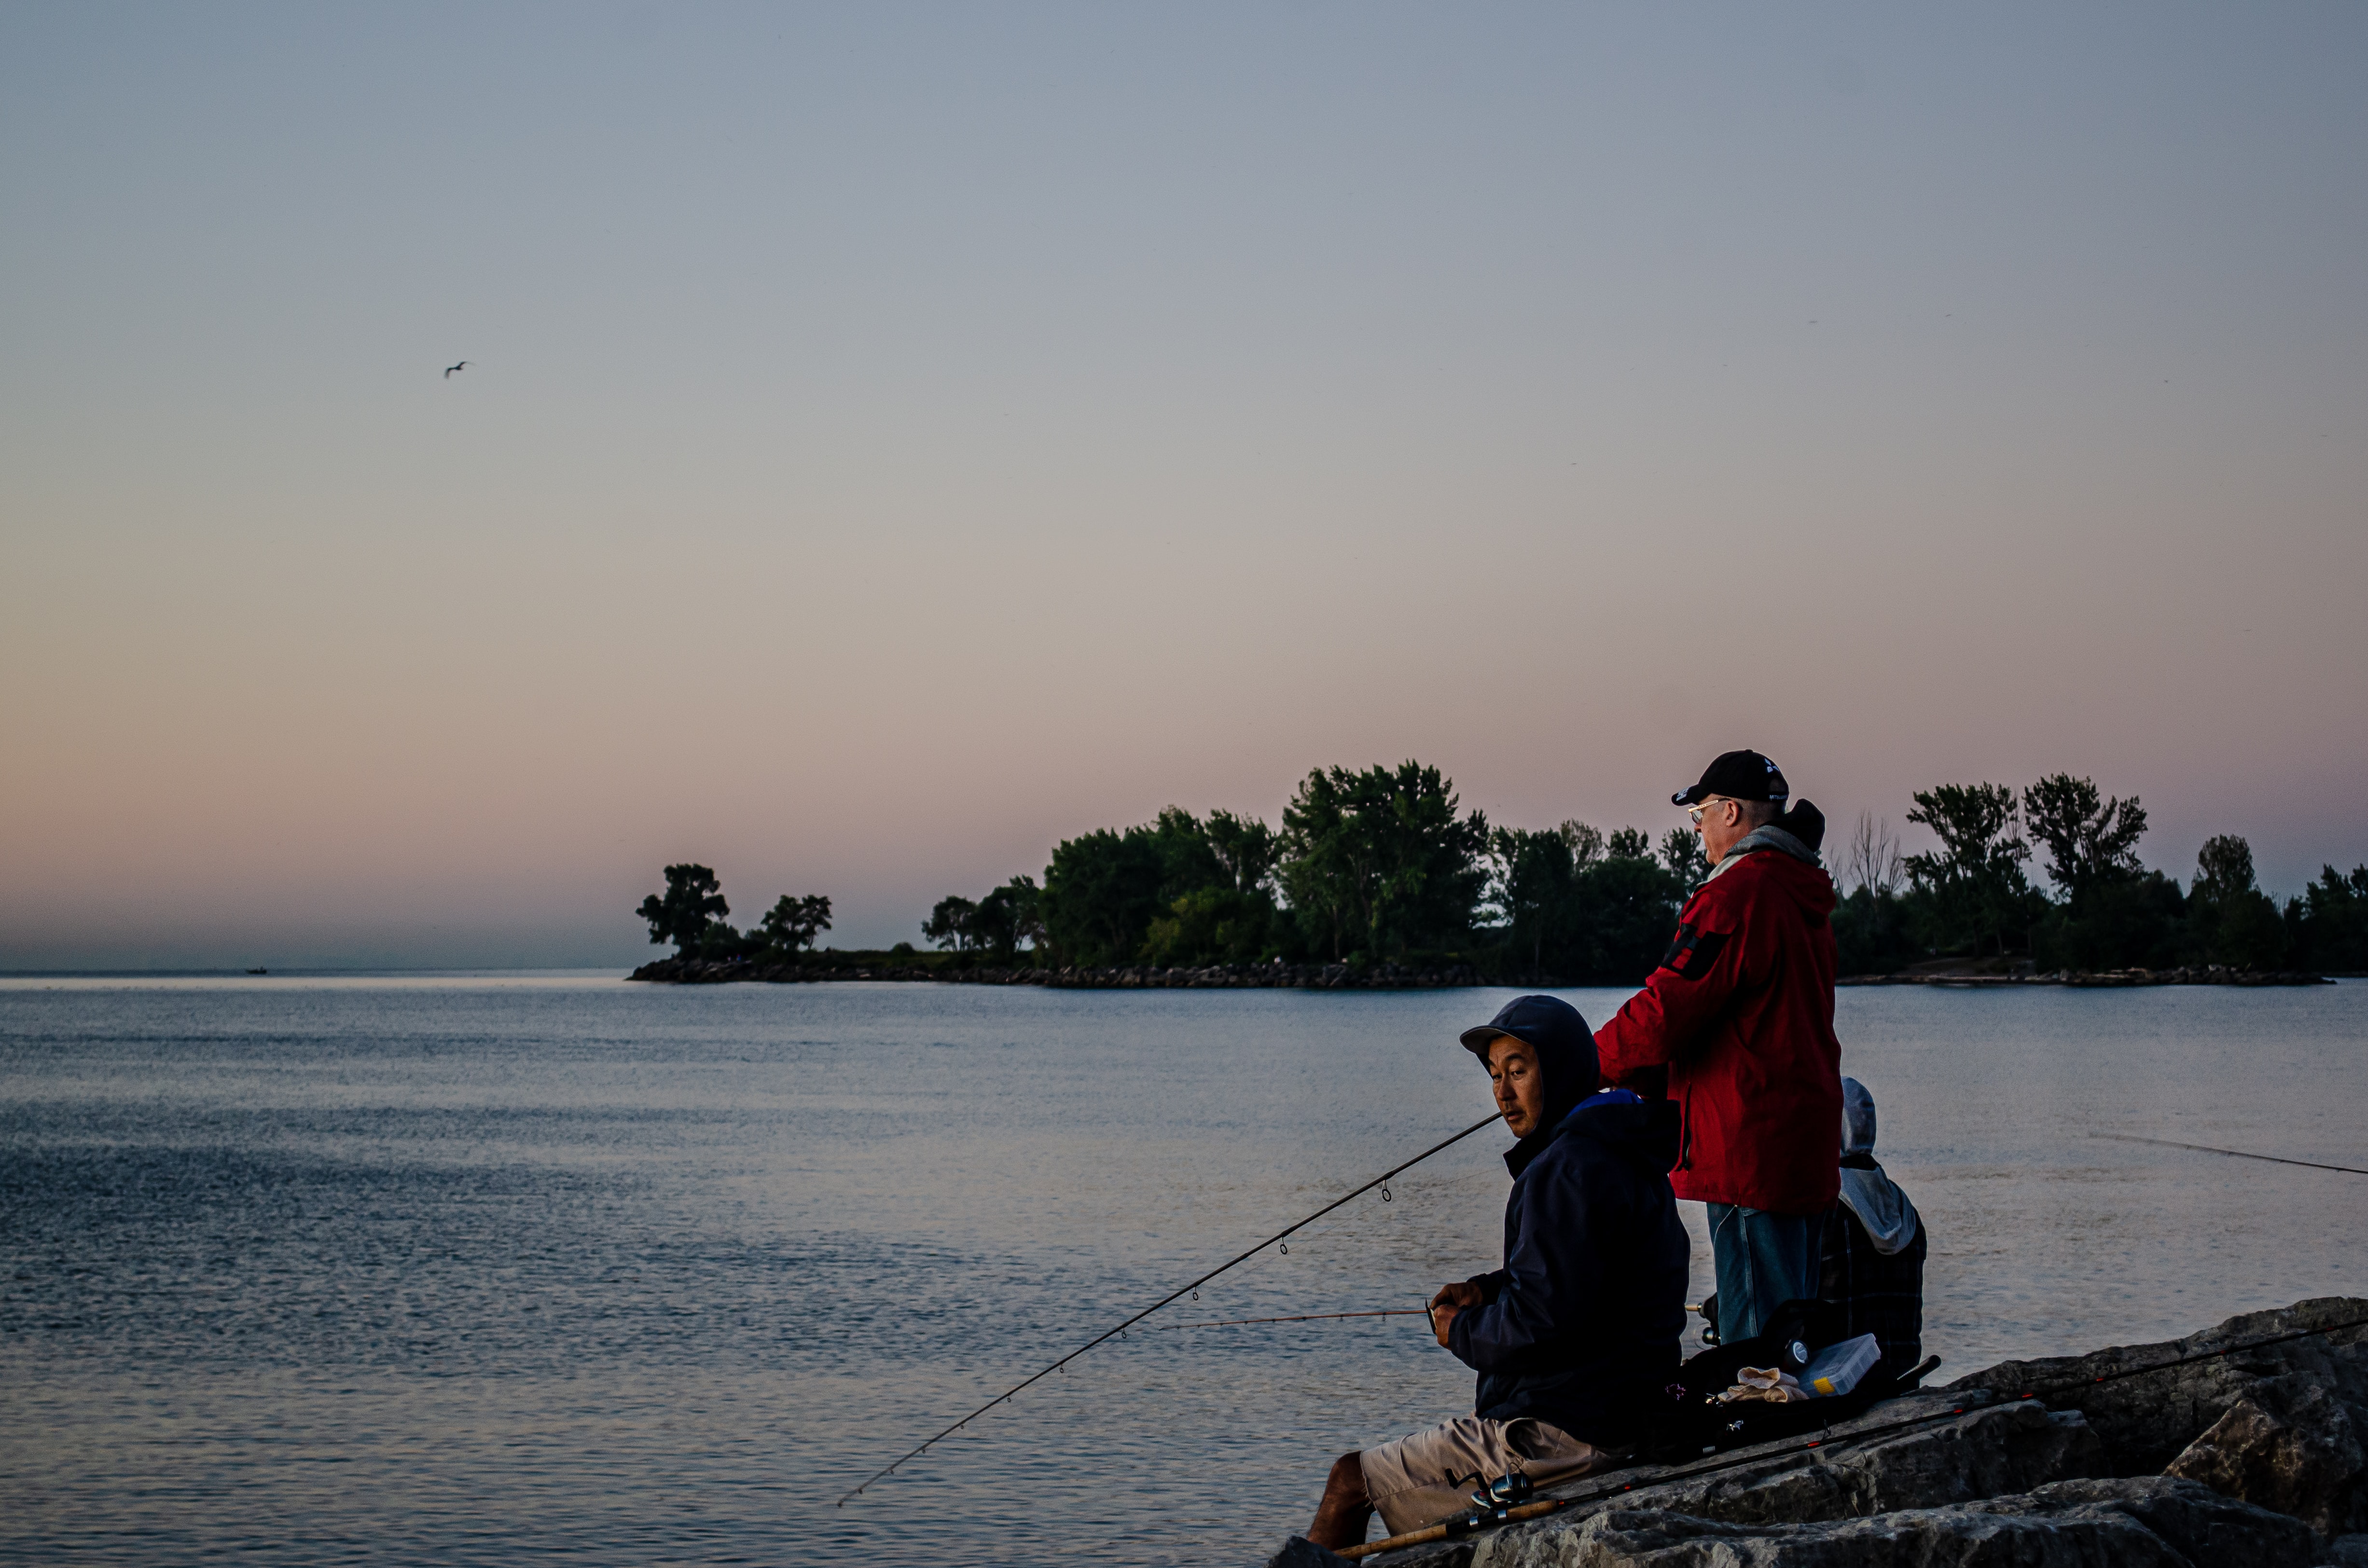 One of the most important advantages of brewkit is the ability to prepare a fermentation-ready wort in just 20 minutes. Of course, as with standard mashing, there is a fermentation period of about 14 days and subsequent refermentation of about 7 days, but the mashing time of a few hours is eliminated here. With this solution you can save precious hours of your life (which are especially hard to come by during the holiday season). You can use the time you save to go fishing or on a trip to the water with your family.
Another plus is that by not boiling more than 20l of liquid, you do not increase the temperature and humidity level in your home, which could be especially annoying on hot days.
Additionally, it is important to mention that contrary to the information on the packaging, brews from brewkits do not have to have one predetermined bitterness that is within a certain range. You can both raise the bitterness in your beer and lower it. The moment you decide that your brew is too high or too low in IBU, you can influence it - if it is too high, add more malt extract/sugar and make more liters of wort. This will ensure that the bitterness is lost in more of the liquid while still maintaining the desired BLG level. The other way - if you want more IBU, you can boil the brewkit with a few liters of water, then add the appropriate amount of hops. Then the bitterness will stay at your preferred level. To effectively calculate these values use our calculator. You can also do a similar procedure to reducing IBU, but then you will need less malt extract or glucose/sugar. Keep in mind that in this case, if you wanted to reach the manufacturer's recommended BLG, your beer will be slightly less than you originally intended, but you will avoid the need for additional hops.
Another method you can use to influence the flavor and aroma of your brewkit beer are additives that, as with standard mash wort, you can use during silent fermentation (for example, hops, pulps, oak flakes, non-refermentable sugars, etc.).
What do you need to make brewkit beer?
Although brewkit beer preparation is much faster than standard mashing, you can't do without basic equipment and a few extra raw materials. Of course, your home brewery doesn't need to be as elaborate as it is for mashing, but nevertheless - a few items are a "must have".
Let's start with the raw materials. To make beer from brewkit - from preparing the wort, to drinking the first - bottle you will need:
- brewkit - when it comes to the palette of their choice, no worries - everyone should find something for themselves. The biggest brewkit producer at the moment is Mangrove Jack's. Other well-known producers include Brewferm and Muntons.
- yeast - these are included in the brewkit package as standard.
- malt extract/enhancer/glucose/sugar - this point does not apply to Muntons brewkits, available in our store. As for Mangrove Jack's and Brewferm - the manufacturer recommends using one of these sweeteners. They are designed to increase the sugar content in the wort. This provides food for the yeast and, consequently, the beer will be stronger and our brew will be able to count a little over 20 liters, or about 40 bottles of beer. It is advisable to use malt extract - it will give us the best results. An equally good idea is to use an enhancer, that is a mixture of malt extracts, invert sugar syrup and glucose syrup. Both of these products contain non-fermentable sugars that build the flavor of the beer. Regular sugar or glucose only raises the alcohol level.
- Crystallized glucose/carbonation drops/sugar - this ingredient will be used after fermentation, just before the beer is poured into bottles. A little sugar in one of these forms added before the bottle is capped will give the yeast a new dose of energy to keep it working inside the bottle while increasing the C02 pressure, thus carbonating the beer and increasing its shelf life. For more on refermentation, check out this article,
- water.
Equipment:
- fermentation bucket (about 30 liters) with fermentation tube,
- fermentation bucket (about 30 liters) with a tap - necessary when bottling beer
- brewing spoon or other stirring tool - do not use wooden utensils as the micropores in the wood can store bacteria that cannot be reached by disinfectant, but with prolonged contact with the wort can move into it,
- disinfectant - may be high concentration alcohol or OXI popular in brewing,
- pot - it will not be necessary to have such a large pot as in the case of malt mashing. A 10/12 liter pot is best, but a smaller 5 liter pot will work just as well. The idea is to heat up a few liters of water for pre-dilution of the brewkit.
 - brewing thermometer - you can do without one, but it's a bit risky, especially when you're pitching yeast. The optimal temperature for pitching yeast is about 20st. C.
- Menzies and sugar meter - necessary for testing the sugar content before and after fermentation. Thanks to them, you will be sure if the fermentation has finished, while allowing us to calculate the alcohol content in the finished beer, based on the amount of attenuated sugar.
- bottling hose (at least 1 meter, but a little longer will be better),
- bottles,
- bottle bapper and caps.
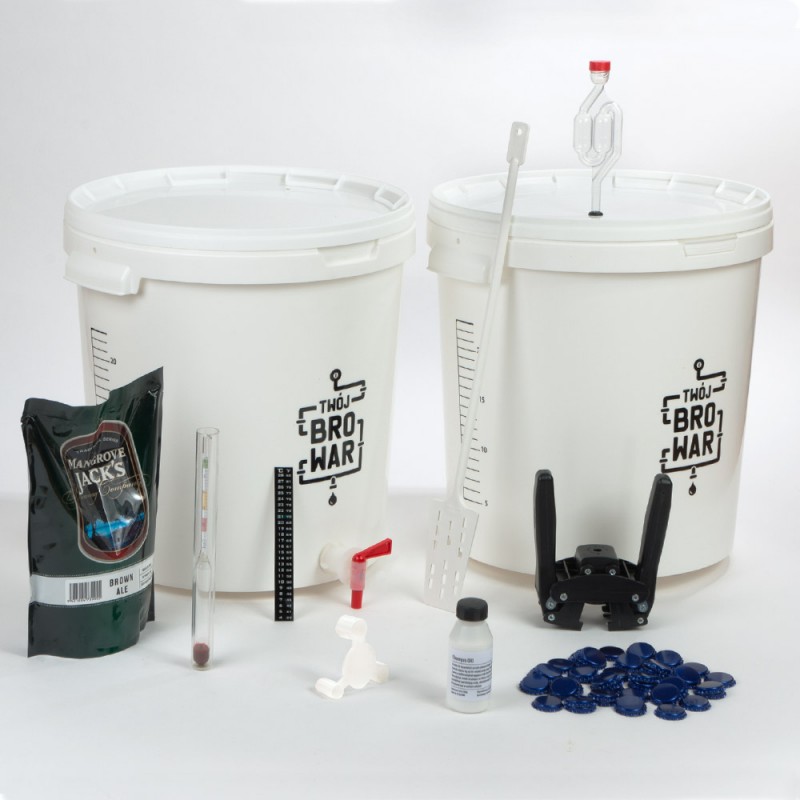
All the equipment you need to make your first brewkit beer can be found in one of our start kits (equipment pictured).
How to prepare brewkit at home?
Wort preparation:
1. to start, place the brewkit and malt extract packet (if you'll be using it) in a container of hot water - this will allow the malt-hop syrup to soften so that it's easier to pour into a pot of hot water later. Remember to take the yeast out of the brewkit packet - in some cases it's mounted to the bottom of the brewkit packet, in others it's inside the liquid extract packet (in a side pocket). On the other hand, if the brewkit is in a carton or tin, they will probably be separately, next to the bag of sugar syrup.
2. In the meantime, disinfect the equipment you'll need at this point (fermenter with fermentation tube, thermometer, spoon) and start heating the water (minimum should be about 3 liters, optimum 5-7 liters).
3. When the water in the pot is hot (it doesn't have to and shouldn't boil), dilute the brewkit, malt extract/enhancer or sugar/glucose in it. You can do this in the pot or in a disinfected fermenter. Remember to keep stirring the brewkit, malt extract or enhancer as you add it, to prevent them from sticking to the bottom. It's also possible to increase the bitterness at this stage but we need to bring everything to a boil and then add the hops. The volume of the liquid should be from 5 to 10l. In the meantime, you can rehydrate the yeast in a glass (link). However, this is not necessary.
4. At this stage you need to add water to the fermenter in which you've diluted the brewkit (up to about 23l.) You can use the cheapest market water, or boiled tap water - if you add cold water it will cool down the wort, so you can pitch the yeast faster. It's also acceptable to use water straight from the tap, but then the risk of beer contamination is higher.
At this point, it's also a good idea to test the sugar content of the wort. The temperature of the wort should be 20°C when tested with an areometer. 5.
5. When the wort has reached a temperature suitable for the yeast task (as indicated by the manufacturer on the yeast or brewkit package), add it. The previously mentioned rehydration is advisable, but the producer allows sprinkling the yeast directly onto the surface of the wort.
6. close the fermenter tightly and set it aside for fermentation.
Fermentation:
1. Primary fermentation - depending on yeast work (should take up to 7).
2. Secondary fermentation - at this stage you can influence the flavor of the beer with additives. Sometimes brewkits equipped with cold hopping hops for example. You can also add pulps, oak flakes, etc. However, remember to do this no later than 4 days before your planned bottling, especially when it comes to fermentables.
 Bottling and Refermentation:
1. 48 hours before the planned bottling, it is a good idea to measure the BLG content. Repeat on the day of the planned bottling - if the value is the same, pour the beer into a fermenter with a tap. Use a hose to do this. Try not to stir up the yeast sediment at the bottom of the bucket.
2. After pouring the beer into the fermenter with the tap, add the glucose dissolved earlier in a glass of hot water (usually about 6g per 1l of beer). Stir gently to avoid oxygenating the beer.
3. Cap full bottles and let stand for a few days (refermentation should take place at a similar temperature to the one in which fermentation took place). After that time has passed, you can enjoy your brewkit beer!
* Remember to keep both the fermenter, spoon, and bottles thoroughly sterilized - that way you won't spoil your beer.
* Keep a space in the neck of the bottle between the cap and the surface of the beer. It is necessary in order to collect the gas created during refermentation.
Important:
1. Homebrew beers do not have an expiration date, so they can wait to be drunk even for several years. However, in many cases this is not advisable, because during long lagering oxidation can occur, adversely affecting the condition of the beer. However, there are types of beers that like to lager for a long time and oxidation has a salutary effect on them. You can find more details here...
2. If the BLG on the day before bottling was higher than on the day of bottling - hold off on bottling until the next day. If you are sure the areometer shows the same value as the day before, you can bottle. You will avoid many problems associated with overcarbonated beer (e.g. grenades, i.e. exploding glasses).
Used photos:
https://unsplash.com/photos/MD-PAjmHJSc
https://unsplash.com/photos/Idzw9ImQXtk


Dodaj komentarz
0 komentarze